
When I started Memoria Cards, the goal was simple: make something I would actually want to own. A collector’s card that felt right in the hand, looked right under light, and held up over time. Not a printout. Not a prototype. Something real.
The Making of a Memoria Card
What followed was several months of iteration, dead ends, wrong paper, rejected batches, and hard-won lessons. The process described here is the result of that work. It isn’t perfect, and I’ve had to make peace with that. Some dust lands where it shouldn’t. Some cuts are a fraction off. But every card that leaves here has been through every step of this process, by hand, one at a time. That’s the part I won’t compromise on.
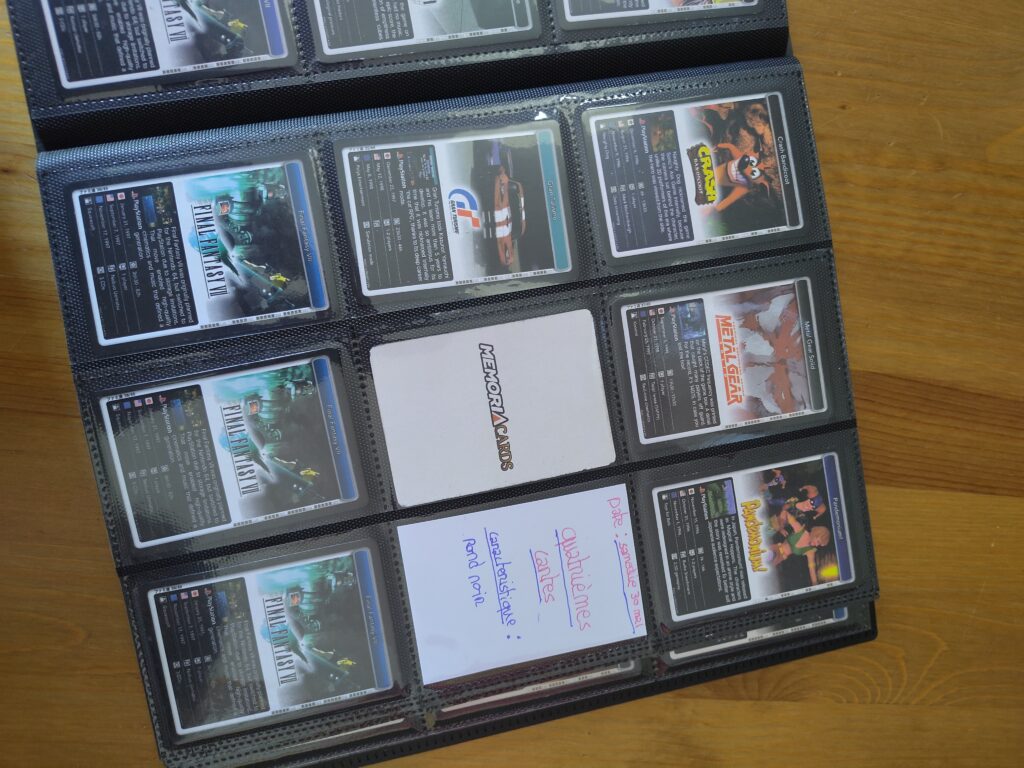
The rejected cards didn’t go to waste. My daughter has quietly assembled what might be the most unique Memoria Cards collection in existence: every prototype, misprint, and failed batch, sleeved and organised in her own collector binder. She’s added her own annotations. An accidental archive of everything that didn’t make the cut, curated by someone who didn’t care about any of that.
The Print
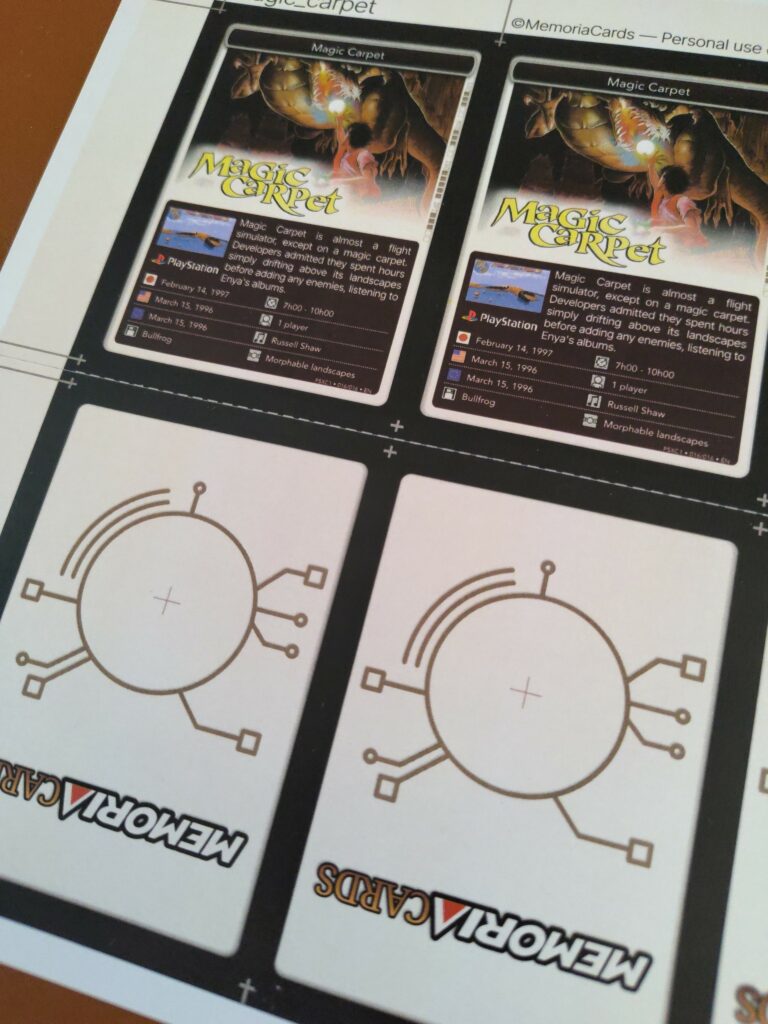
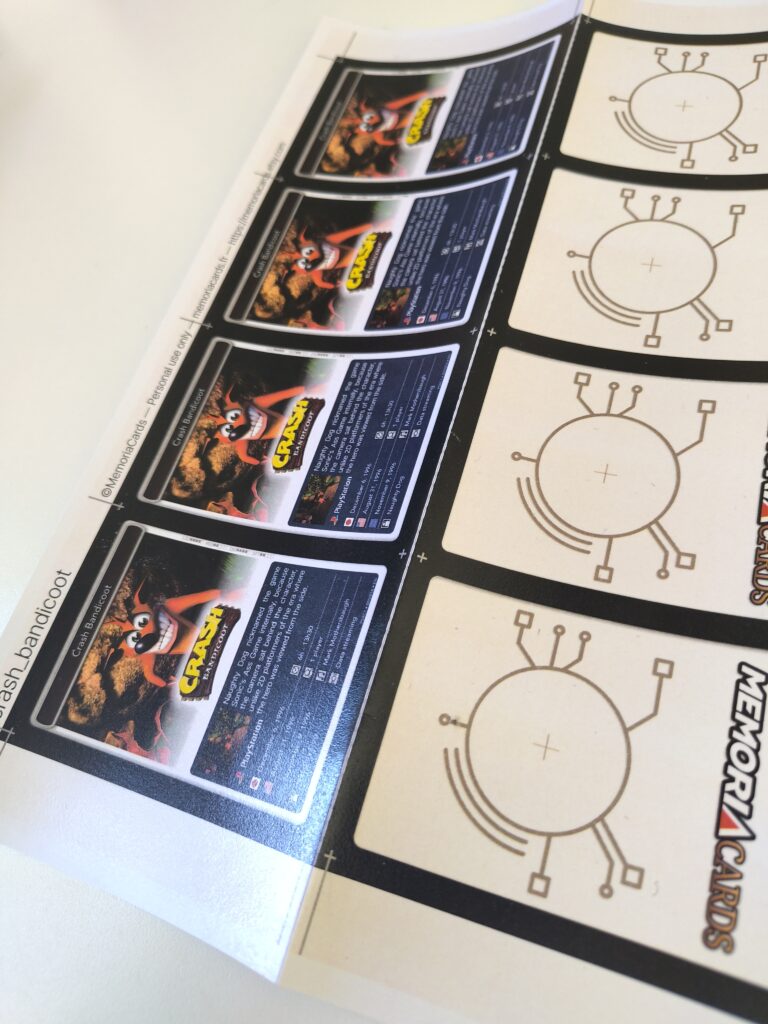
Each card starts with a single sheet of DCP 160gsm paper, printed with both the front and back design in one pass. Printing recto and verso on the same sheet isn’t just convenient: it greatly reduces the risk of misalignment between the two faces. What you see on the front lines up with what’s on the back, with very little room for error.
Finding the right toner took longer than expected. Several compatible cartridge brands were tested before settling on one that delivered consistent colour accuracy and a reliable drum. Getting the printer settings right was its own challenge. Thankfully, running Linux means those settings can be passed directly to the driver and locked in place through the card factory software, so every print is identical.
More info on software pipeline
A small confession: no, I did not spend four months printing on the wrong paper, convinced I was using DCP 160gsm when I was actually using bristol board. And no, I absolutely did not tear my hair out trying to understand why the toner wasn’t fusing correctly.
Preparing the Sheet
Once printed, the centre of the sheet is scored with a cutter (not cut through, just creased), with small attachment tabs left on each side. These tabs hold the two halves together and give the black core a stable resting place during assembly. Spoiler: there’s a black core.
The Varnish
The front face receives a coat of acrylic Teflon varnish, applied with a foam roller in thin, even layers. This is the same varnish used on kitchen worktops, built to resist scratching, humidity, and daily handling. A clean, dust-free roller helps a lot here. White card areas tend to show any particle that lands in wet varnish, so a little care goes a long way.
After two hours of drying, the sheet goes through a thermal laminator for the first time. The heat uniformises the varnish layer, smooths out any roller marks, flattens the sheet, and, crucially, fuses the varnish to the toner at a molecular level. As the two materials cool together, they bond permanently. The result is a surface you genuinely cannot scratch off. It becomes part of the card.
A brief story about this step: early in the process, I was passing cards through the laminator by instinct. The varnish was rock solid, the edges were incredibly durable. But since I didn’t fully understand why it was working, I eventually dropped the step. Fifty cards later, all rejected, I passed a card through the laminator again one evening, mostly out of curiosity. The card became indestructible. Lesson learned: trust the instinct, then understand it.
The sheet rests under a light press with baking paper on both sides while the varnish continues to cure.
The NFC Port
The NFC port is punched out using a 28mm punch, positioned on the back face of the card and centred on the custom-designed Memoria marker: a spiral surrounded by PCB-style traces. The black core will show through this opening, creating a subtle inset that hints at the technology inside.
The Black Layer
The rigidity of a Memoria Card doesn’t come from a single thick material: it comes from the sandwich itself. A sheet of black paper is placed between the two printed faces, and it’s the combination of adhesive, structure, and double paper layer that creates the final stiffness.
Using pre-made black core card stock wasn’t an option here. The NFC port recess needs to pass through the black layer too, which means sourcing a material that can be punched cleanly, cut precisely, and handled without tearing. Finding the right black paper and working out how to integrate it into the assembly process took considerable trial and error. It’s now one of the details that makes the card feel the way it does.
A professional spray adhesive is applied to the inside of the front face. After a short open time, the black core is positioned precisely using the tab structure as a guide, then pressed flat by hand. The bond is immediate. The sheet folds over the black core along the scored crease and is pressed again. No bubbles. No sliding. No timing pressure.
Any adhesive residue on the outer faces is cleaned off with a small amount of WD-40, which, as it turns out, removes spray adhesive cleanly without touching the varnish or toner.
The black layer also serves a visual purpose: it shows through the NFC port recess and appears on the cut edges of the card, giving that clean, unified dark finish that makes the card feel premium.
The NFC Tag and Back Varnish
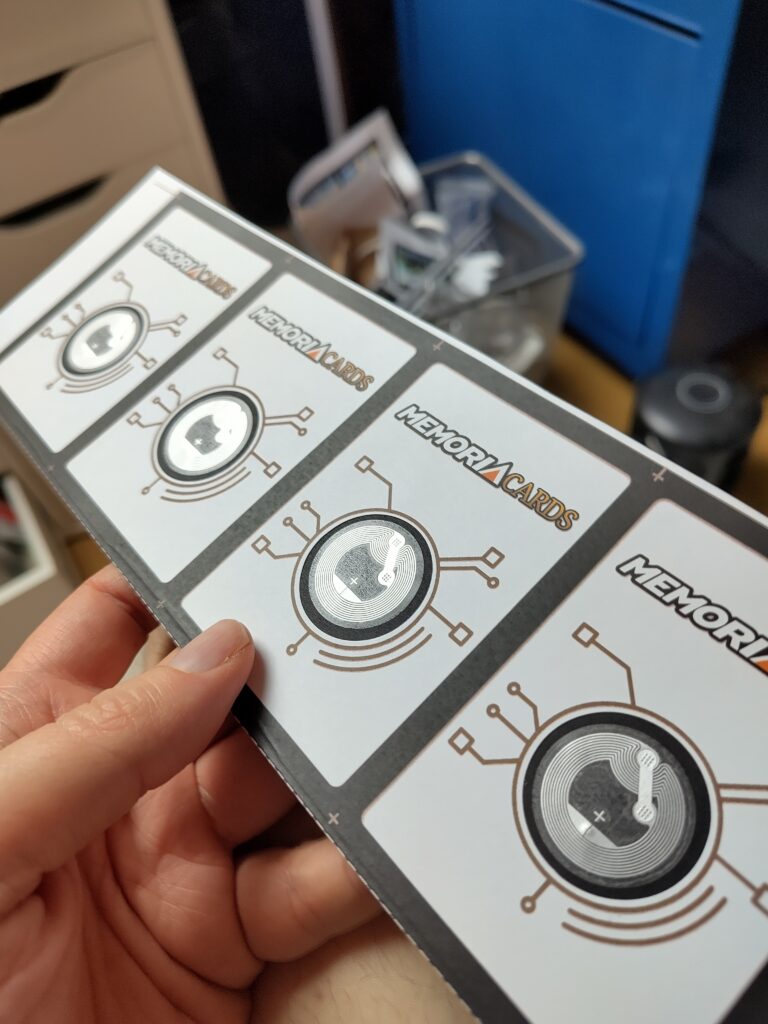
An NTAG215 NFC sticker is placed directly into the port recess, flush against the black core. This is the same chip standard used by Amiibo, readable by any NFC-enabled smartphone, and fully compatible with MiSTer FPGA (via Zaparoo), Batocera, and RetroPie. The tag comes pre-encoded with the URL of the Memoria Cards setup guide. Tap the card with your phone and you’re taken straight to the configuration instructions for your platform.
How to use Memoria Cards with Zaparoo
The back face then receives its coat of varnish, applied in the same way as the front, sealing the NFC tag flush into the card in the process. The sheet goes through the laminator again. The heat compensates for any curl introduced by the back varnish, uniformises the coat, and fuses it permanently to the toner. Both sides of the card are now equally protected.
The Press
The assembled card rests under a light press overnight with baking paper on both sides. This allows the Teflon coating to continue curing under controlled conditions and corrects any remaining warping. The result is a card that lies flat and feels solid in the hand.
Cutting and Finishing
Once cured, the individual cards are cut from the sheet using a massicot. The cut must be perfectly vertical and sharp. Any imperfection creates a small raised edge, prone to losing varnish and toner over time.
The corners are rounded with a 3mm corner punch for that authentic trading card feel.
A black acrylic marker is run along all four edges. The black core is already black inside, but this step seals the cut edge and gives the card that premium, unified look, the kind of detail you notice immediately when you pick it up.
Packaging
Each card is sleeved in a protective toploader and receives its holographic QC passed sticker. Then it waits, stored under light pressure, until it finds its home.